It may not be entirely possible to prevent static during a random recording, but you can leverage excellent audio restoration services to clean up your media content.
The history of sound recording would not be complete without the man of a thousand patents. In 1877, Thomas Edison invented what he called the Phonograph. While this was a crude machine that was hard to operate, it reportedly recorded the first-ever recorded words, “Mary had a little lamb.” The recording of the phrase was not very clear, but it was an important invention in the story of sound recordings.
Today, we have several tools and types of equipment that can create audio files with the push of a button. High tech equipment can produce high-quality audio; our mobile phones equally record sounds.
Audio recordings are crucial to us and have become indispensable. There are audio recordings of our favorite songs, comments by other people, or speeches by government officials. We also use audio recordings as reminders or to make notes.
Whatever the need for audio recording is, ensuring that the audio is of good quality is essential.
However, one common problem with audio recordings is audio static.
What is Audio Crackling?
Audio static is a crackling and annoying sound that disrupts the quality of recordings and renders them less valuable. Several factors can cause static in audio, from your audio equipment to interference from other electrical appliances.

There are several ways of removing static from an audio recording, but it is a deeply meticulous and tricky process, so hiring Media Medic’s experts is best.
Here are three methods often used to remove static during audio clean up:
3 Ways To Remove Static From Audio
1. Using An Equalizer (EQ)
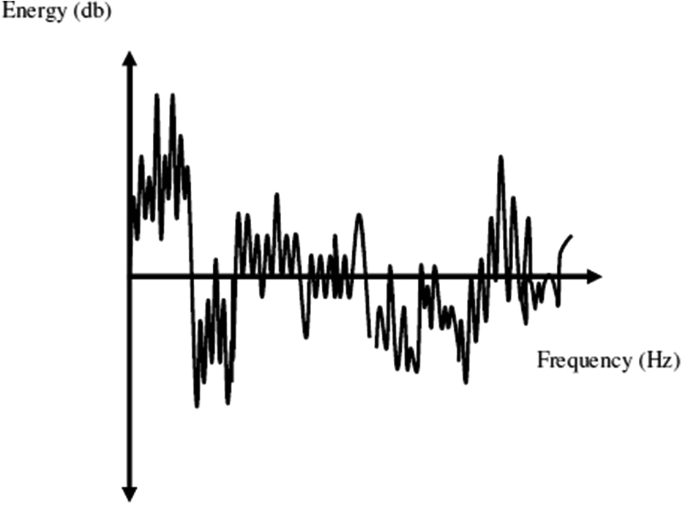
Equalization is the process of adjusting audio frequency bands. Many types of equipment used for this task have built-in or simple filters to alter the bass and treble. Production and recording studios use equalizers to correct equipment’s response. Since they adjust audio signals at specific frequencies, you can use EQs to remove static audio. A tweak of the nobs can help with the noise. Locate the equalizer on your device, and adjust the settings until you have the desired sound quality. However, an error could compromise the audio file, so most people hire experts to do the audio restoration professionally.

2. Using Specialized Noise-Reduction Software
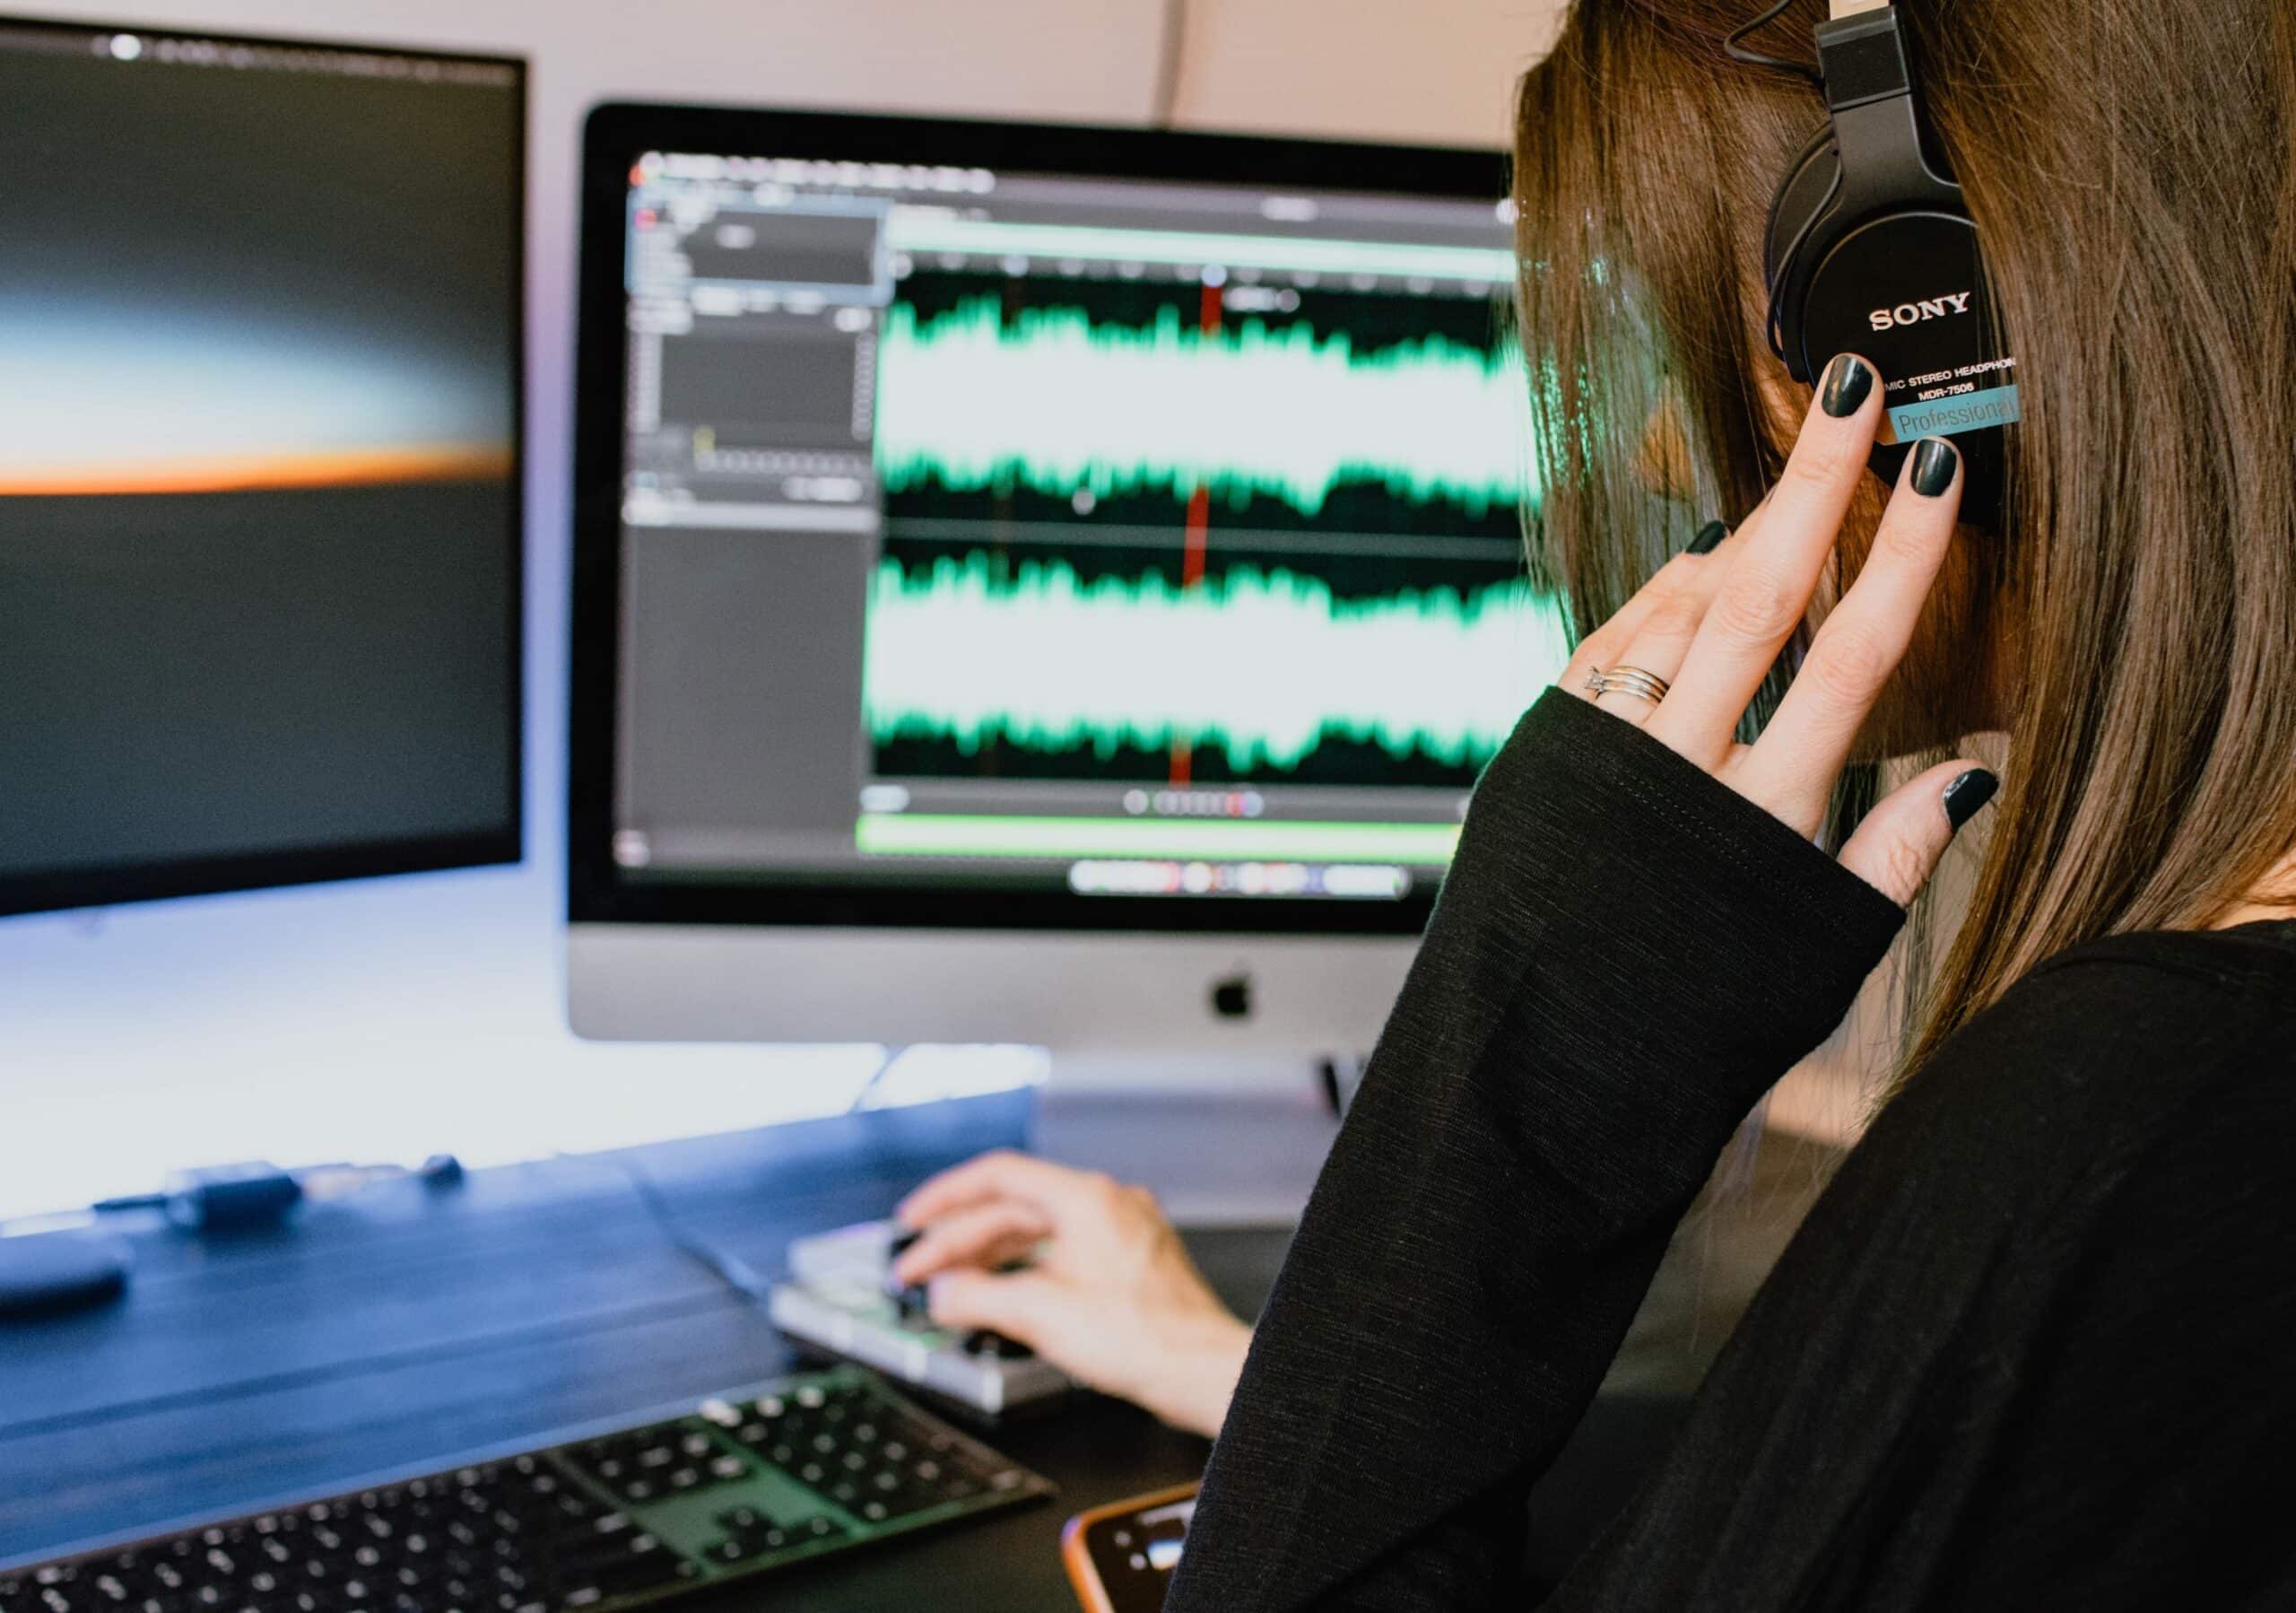
Sometimes called noise-reduction tools, special software can remove static from your recordings. They may require you to upload your audio file and click a button to remove offending noise such as static or background noise. Software like these may come built into your audio program or be third-party software. As plug-ins, they may work in real-time or require that you select a portion of your recording with the noise. The software then processes the noise and removes it from the recording. You can then download your audio recording with the audio static removed while maintaining the integrity of your audio.

3. Edit out the offending part
Another simple method to remove static from your audio is editing the offending section. Editing may also require a third-party tool, but it works best if the audio’s noise is only a brief part. You can select the area with the noise and cut it out, ensuring to use fades to make the edits smooth. This process may require some technical expertise, and you may need the services of a professional. However, some software has detailed steps to achieve these edits. Editing is such an integral part of the audio cleanup, requiring months of training. Thankfully, you can get experienced professionals to handle it quickly.
4 Ways To Reduce Static Noise When Recording
Sometimes, removing static from your audio after you have finished a recording may be difficult. There are ways that you can ensure that your audio is free of static while making the recording. Here we talk about four of the most common things you can do to have static-free audio.
Remove Ambient Noise
One of the significant causes of static in audio is noise from external sources. Sensitive microphones can pick up on these sounds and interfere with your recording. For these noises not to interfere when you record, it is best to soundproof the room where you do your recordings. Soundproofing involves covering the walls and floor with unique soundproof material, also turning off all electrical devices, including air conditioners, washing machines, dishwashers, television sets, or radio. Doing all of these will reduce the overall noise and possible static.
Adjust The Headphones And Microphone Cables
Static happens when the cable or jack does not fit correctly in its port. Before recording your audio, check if you plugged the jacks correctly. Push them gently until you feel them click firmly into place. You may also need to check that the cables and jacks are not damaged, as faulty jacks can produce static sounds.
Proper Microphone Distancing
If you are recording and use an amplifier, external speakers, or other related equipment, you should distance the microphone from them. Frequency from these devices can increase feedback and cause static. Also, unless you use a directional microphone, you should hold it as close to your mouth as possible. About two to three inches of distance is okay. The more space between the microphone and your mouth, the higher the chance of picking up interference. Moving the microphone back and forth while observing the sound quality can help you find the proper distance.
Ensure Proper Microphone and Audio Settings
In many cases, the “gain” or “input” settings on the amplifier or microphone are usually the cause of static. Adjusting it while speaking into the microphone can help you find the proper settings to use. The gain is the sensitivity of the microphone, and the higher it is, the higher the chances of the microphone picking up noise and creating static. The correct gain settings rest on the microphone’s power and the amplifier set-up.
Conclusion
Having quality audio is essential. However, you might have interference due to static. Removing the static interference can be tricky; hence, sending the file for audio cleanup is best. You could also use software for more complex methods, but the results are not guaranteed. That is why most recommendations online encourage people with such issues with their audio content to engage a professional’s audio restoration service.


