Noticeable breathing sounds distract listeners, and you must remove them for excellent finished work. Don’t get worked up when you hear breathing sounds in your audio. Luckily, there are professionals who can help you remove these sounds if you can’t do it yourself. If your mic has picked up unwanted sounds, it’s easy to remove them too. It doesn’t matter if you recorded the audio from your mobile device or a professional studio. Sometimes, the voices we want to edit are inaudible, and breath noises are louder.
The best way to rid your audio of breathing noises is by avoiding them in the first instance. There are several ways to position your mic to prevent your device from picking up breathing noises which we’ll discuss in this article.
However, we all know things don’t go as planned when recording, so we must clean up audio recordings with less-than-optimal outputs. In short, we must remove breathing sounds before publishing them. Yet, too often we are short on time. In that case, you can always count on a Media Medic’s restoration service. These professionals will clean the recording while keeping the content intact. Our team has explored opinions from several audio editing professionals and restoration services to obtain the best tips on removing mouth noises, breathing sounds, and other noise from your audio recordings.
Ways to Avoid Breath Noises From Distorting Your Audio
Our team has collated a list of things you can do to prevent your mic from picking up breathing noises while recording your audio. Please note that it doesn’t matter the device or studio you are recording from; these tips will help keep out breathing sounds from your audio. Read along to get more insight.

Using a Pop Filter
If you are making your audio in a studio or from a professional mic, it is best to use a pop filter. A pop filter is a screen that sits between the microphone and your mouth, and the device slows a rapid rush of air from hitting the microphone directly. A pop filter acts more like a windbreaker and filter, and it reduces the air tension and allows only the filtered voice to reach the microphone. Therefore, there is no need to get worked up over making sounds like “P” and “B,” which usually come with hard breathing noises.
Select a Good Microphone
The cardioid microphone is one of the best microphones to use for your audio recordings. The cardioid microphone has a tight sound pattern that filters breathing and other noises. Wondering what the cardioid feature is? The cardioid microphone has one small area in front of the mic where all the sound goes. The microphone is unidirectional and picks sound in only one direction.
Place Your Microphone Properly
Before recording, you have to make sure that you position your microphone correctly. According to Justin David (Grammy Award-winning producer), most companies create their logos where you need to talk on the microphone. Thus, it would help if your microphone faced your mouth in the direction where you placed the logo.
Another great tip is to place the microphone at a distance such that the user has to lean over to talk and back to breathe. Easy as it sounds, it is one of the easiest ways to capture clean audio recordings. Also, instead of speaking directly into the microphone, use an angle. Ensure that the mic is about 45 degrees below or above your mouth when recording audio.
Use appropriate volumes for your recording. Do not record the audio at too high or too low volume. Turning the volume too high introduces unwanted noise, including breathing sounds that become more prominent as the volume increases. The best way to get the cleanest voice outputs is to record short audios at different mic placements and volumes until you have what you are looking for.
Use a Noise Gate
A noise gate enhances the audio quality when using a voice-over microphone. A noise gate is software that regulates the audio input signal. What does this piece of equipment do? When you set the volume, breathing does not make it to the microphone because it falls below the gate threshold. One unique feature of this recording method is installing the software on your PC while using any microphone input; it helps to regulate the noise.
Leverage Proper Breathing Techniques
Nothing beats the good old breathing techniques. You can practice when to breathe and how much breath to deliver at each time when recording your audio. You will get better sound outputs when you control your breath and use the mic properly by breathing through your nose instead of the mouth. Try recording your voice on a device several times. You will be more informed on how to manage your breath.
Another great tip is to split your session into sections that can be recorded in a single breath. You can then repeat each section until you get perfect bits to join to make a wholesome recording.
Cater For Your Voice
It doesn’t matter the type of recording you are doing; you have to take care of your voice. Your voice is like an instrument, and the more you take care of it, the better the output and quality. If you cannot take care of your voice, you could end up with pops, breath noises, and unwanted sounds. Drink lots of water, and do voice drills or vocal exercises.
Techniques to Use When Mixing Recorded Audio to Reduce Breathing Sounds
Don’t get disappointed when you hear breathing sounds after recording; there’s still hope. You can do several things to get rid of breathing and other unwanted sounds after recording your audio. If you are not good with sound editing, some professional audio editors can help you out. You can do a few things to remove breathing sounds after recording.

Manual Removal
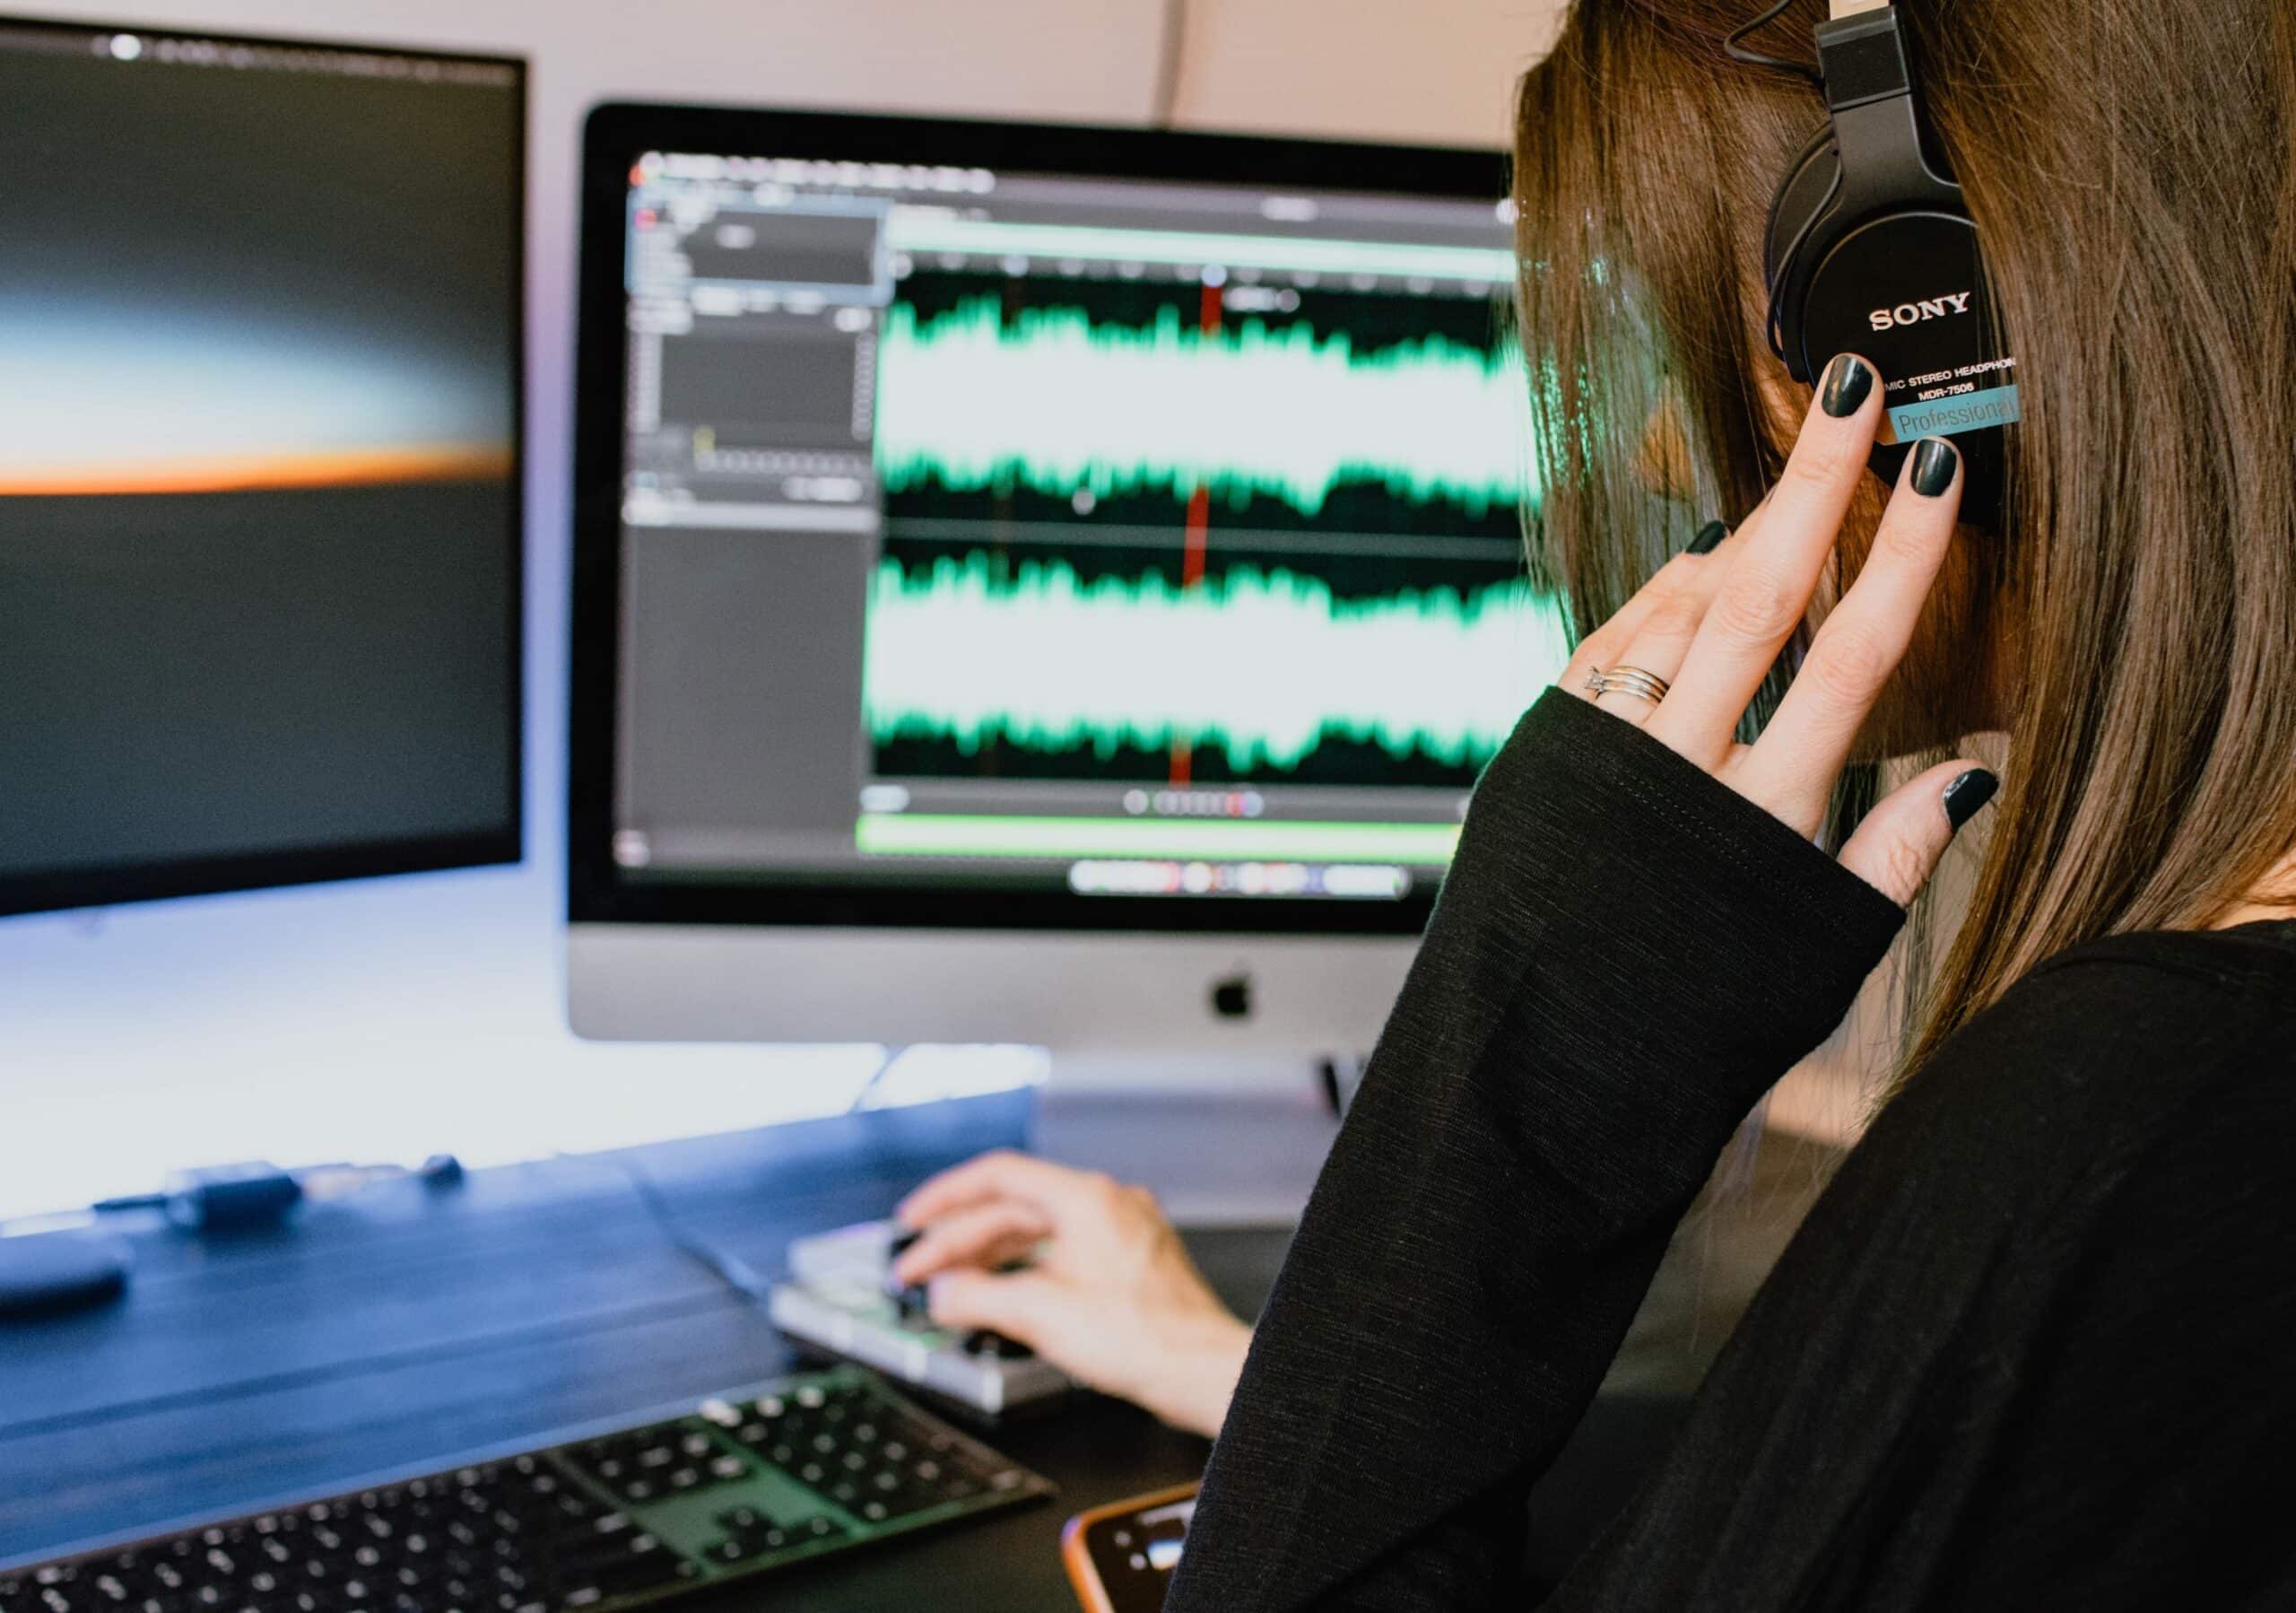
If you notice breathing in a few parts of your recording, you can use an editing program to adjust these parts. You don’t need to trim out the sections or completely silence them. Instead, you can eliminate the breathing sound by reducing the volume when the part comes up in your audio recording.
Once you have imported your audio onto the editing program, click and drag the noise reduction effect over the breathing sound. Next, keep the peak amplification within 30dB and 40dB. You can then go-ahead to the next breath sound and continue until you are done with the entire audio.
Use an Envelope Tool
Editing programs such as Audacity have the envelope tool to select a section you want to edit. Once you’ve chosen that section, you can smoothly adjust the audio track’s volume. You can use the envelope tool by setting control points in three selected areas. To smooth the audio transition, the control points should be at the beginning, middle, and end areas.
Use a Noise Reduction Filter
Breathing sounds can also be removed using a noise reduction filter. Low-pass filters help eliminate these noises from your audio and allow for perfect rendering. Be careful not to use pulsing sounds to distract you and others while listening to the finished audio.
Utilize The Audio Editing Noise Gate
A floor or gate reduces noise and other distractions when editing audio. Note, however, that overuse of the gating tool may lead to the creation of unwanted pulsing noises. For optimal output, you need to adjust the noise gate settings, readjust the settings after running the gating, and fine-tune the results after that.
Use a Compressor in Audio Editing to Remove Breathing Sounds
Compressors kill sounds above certain thresholds. This helps to reduce certain loud breathing sounds that make it to the microphone after recording. If you are not conversant with this tool, you could ask for help from professional audio editors.
Using a Noise Reduction Profile
You can use noise reduction profiles to reduce consistent breathing sounds. How does this work? You use a section of the recorded breathing sound as a noise reduction profile. Next, you can use the automatic noise reduction tool to search for the profiled breathing sound and reduce it.
This technique is tricky and requires playing around to get the best outcome. One good feature of this technique is that it saves time and removes breathing sounds more efficiently than manual editing.
Conclusion
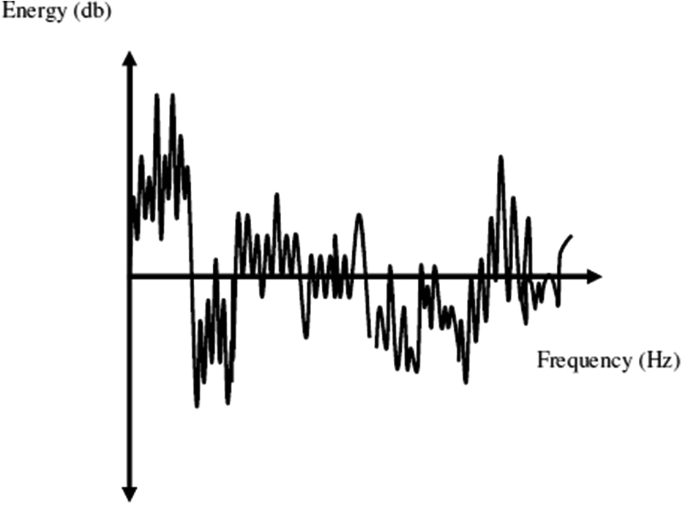
Automation is the best and most efficient way to remove breath noises or sound. Although manually editing your sound is time-consuming, it ensures no error after editing. Manual editing is the most preferred option because it controls how natural the result will be. Since breaths have a particular shape, as seen on the waveform, it is easy to figure them out quicker than you’d expect.
You can either use preventive measures to help you avoid breath sounds or edit them after the audio is recorded. Sometimes even after the steps are adhered to, some noises just escape and cause distractions. This is where editing of the audio comes in.
The techniques outlined in this article provide various ways to remove breath noise. You can edit sounds with the methods outlined in this article.
However, if you find it challenging to remove breath sounds in your audio, you can consult professionals to do it for you. A professional engineer will listen through your recording and manually set the volume to fish out the breaths. Since audio editors are professionals at what they do, it won’t stress them that much. If you have a thing for learning, though, you can try it out on your own until you get the hang of it. After all, practice makes perfect, right?


