When you make a video at night or in dim-lit conditions, during the day, there are high chance of getting a dark video which is annoying. This occurs pretty often as most of the time when we make a quick video, we do not pause to check the lighting. Luckily, Media Medic’s team can help make dark videos more apparent and visible.
In this article, we will be going through the reasons why your video turns out dark and barely visible so that you know what you can do to avoid that happening and solve the issue if it does happen.
Why Is My Video Dark?
There are many factors to consider regarding videos and what influences their quality. The first thing to consider is the equipment you are using. Are you using your phone, a video recorder, or a webcam? Video recording devices are not equal and would require different settings. Therefore, you should always ensure the correct settings before making your video.

Secondly, the lighting is a crucial factor. It does matter if you are indoors or outdoors. Poor lighting can make a video barely visible – especially if you shoot it at night. Videos always come out darker than photos taken at night due to shutter speed. The camera has enough time to adjust to get the best image when you take a picture. However, you force the camera to work at a specific speed when you take a video. This is why you can take a great photo in a dimly lit restaurant or club, but a video will be darker, needing media restoration.
Lastly, reflections can also affect your video quality. They can cause bright halos, which darken the rest of your video. If you are using a camera specifically for night video with infrared, for example, you may find that reflective images may compromise the quality of your video.
How Can I Make My Video Visible?
To make any dark video visible, you can try two approaches. You can try to make adjustments before you take the video or after. However, you don’t have time to make adjustments beforehand in most cases. Therefore, it is helpful to know how to do both. Let’s take a closer look.

Adjustments Before You Record a Video
If you know that your video will be dark and you have time to adjust, the easiest thing to do is change the lighting. You want to ensure that the room has even lighting to avoid unwanted shadows. This may require placing lights strategically in a room. Natural lighting is always best. In this case, light from the window comes from behind the camera. You also want to avoid heavily backlit videos. If you end up with too much light coming from behind the subject of your video, you won’t be able to see much after you record. The light will provide a silhouette of the subject instead of a clear picture.
In addition, you can check the settings on your camera or phone to ensure that it is optimal for providing well-lit video. Most cameras have a night mode setting that can help with videos taken at night. You can also adjust the ISO settings, which control your camera’s light sensitivity. If your camera allows you to, you can also play around with the frame rate to establish which setting gives you the best quality video.
Adjustments After You Record a Video
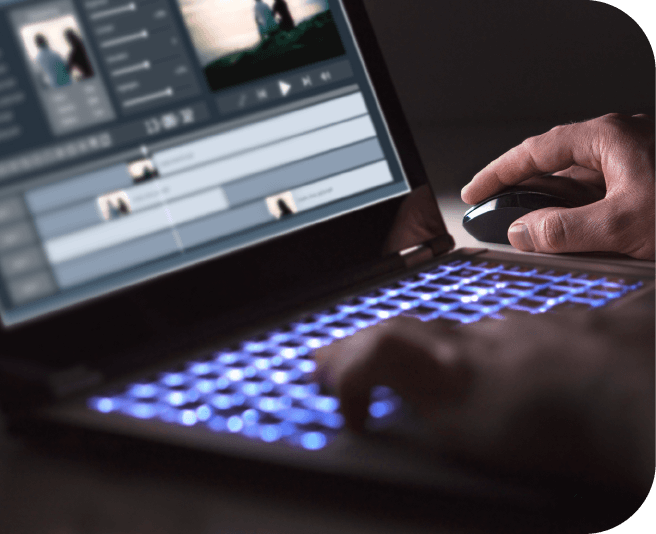
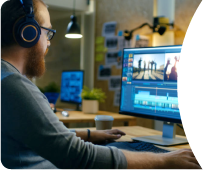
After you record your videos, you can edit them if you find that they are still too dark. There is free software and apps are available for you to do this, some that might come with your camera.
Firstly, you want to try adjusting the brightness and contrast. You need to change both accordingly. You will need to increase the contrast to prevent your video from looking too washed out as you increase the brightness. It will help make your video more visible, but the quality might not be the best.
Secondly, you can make changes to the color balance of the video. It is best to adjust the white balance before moving on to the color hues of the video. Once again, this will take a bit of trial and error before you get the right balance.
It is worth noting, though, if the video is very dark, these fixes will only help a little. Making dark videos more visible is more complicated than Photoshop on an image. It can also get expensive as the professional software required for editing is not cheap. In addition, it is time-consuming as you will have to get used to the settings and go through multiple adjustments until you find the correct settings for your video. Overall, there is no guarantee you will get the best results even after all the effort because video clean up is quite complicated.
We suggest working with remote professionals like Media Medic who can do a video restoration, so you won’t have to waste resources reshooting the scene.
Tips for Capturing Great Videos
A much better option for video recording is to learn from your mistakes. If you get it right when recording, you don’t have to worry about whether your video will be visible. Here are some tips to help you.

Use Optical Zooming
Digital zooming causes you to lose clarity in videos. If you want high-quality videos, you should invest in a device with an optical zoom function or get an attachment. If you have neither, you will need to get as close to the subject as possible to get a clear video.
Lighting is Key
Make sure you have sufficient light in the area and it is in the correct position for the video. Also, remember to look out for reflective surfaces that contribute to glare in the video. These adjustments will make a massive difference in your video.
Use a Wide Aperture
If you widen the aperture on your camera, it will widen the lens and allow more light to filter through. In turn, this will brighten your video as your record.
Use a Slow Frame Rate
The frame rate you choose to use will influence your shutter speed and, thus, the amount of light entering the camera. The slower your shutter speed, the more light will enter the camera. Usually, you want your shutter speed to be approximately double the frame rate.
Know Your Equipment
It is also worth playing around with your camera in different lights and locations so that you become accustomed to the changes you need to make. This will make it easier when you are ready to take a video, as you will have a rough estimation of what settings will work best. This groundwork will save you time when taking the video and later when you are editing.
When to Seek Expert Help
There’s no shame in seeking help. Camera settings and editing software can get tricky, and if you do not understand them, it is okay to take your video to a professional for media restoration. This is the best option if you have a long video that needs editing.
In addition, it will be much cheaper to send it to an expert to do proper video cleanup than to spend an excessive amount of cash on editing software. They do this for a living and will be able to provide you with the best edit in a fraction of the time it would take for you to do it.
Final Thoughts
You should learn how to avoid having a dark video in the first place to make the editing process minimal. However, you are far away from the project most times before realizing the video quality is not good enough. If that happens, don’t panic. Instead, send the digital files to experts who can do excellent video restoration.