White noise contributes to the distortion of audio recording. Sounds like a whirring fan, humming air conditioners, laptop fan, voltage regulators, radio, and your other work equipment, spoil audio quality. These sounds happen in the background, and it might make it hard for your listeners to hear what you’re saying. So, how do you get rid of white noise? Read further, and our guide will help you figure it out.
Ways to Get Rid of White Noise in the Audio
The procedures for fixing white noise in audio recording can be simple. However in some cases it can be a bit of a challenge. If you find the task too challenging and time-consuming, you can hire professionals like Media Medic to clean up your video and audio files for you. However, if you feel you’re up to the task, the following guidelines will help you prepare better when recording and improve the quality of your audio. Here they are:

Step 1: Identify the Source of the Noise
It is disconcerting to play an audio recording and discover a persistent noise in the background overshadows the words. The human ear ignores most sounds, so your audio recording will likely pick up background noise that your ear does not register.
Your first thought might be to re-record the audio. However, if you do not identify the noise source, your audio quality will remain shabby. So, look for the source of the noise and figure out the best step to get rid of it.
Step 2: Move Away From the Noise Source
The quality of an audio recording is more refined when recorded in a quiet area. It is understandable if you can not get to a calm place for your recording. So, it is best to identify the white noise source in your recording area and move away from it.
If the noise is from the air conditioner, you can switch it on to chill the room and turn it off before starting your audio recording. It takes away the chances of the humming of the air conditioner penetrating the audio recording. The same goes for fans, hissing radiators, ticking wall clocks, etc.
Switch them off or put them in another location until the recording session is over. In addition, if the noise is coming from your computer, buy acoustic foam for your computer chassis to dampen its sound. It will prevent white noise from getting into your audio recording.
Step 3: Check Your Connections
If you are recording with a microphone, check the connection between the microphone and your computer and ensure the jack is tight in the plug hole. When mics are not connected properly, it makes a static sound. Also, check to see if the mic jack is in the right hole. Moreover, ensure the cables are not crossing each other to avoid interference.
Step 4: Choose the Right Microphone
Microphones differ, with some superior to others. Cheaper microphone variations might not work as efficiently, and they might develop faults faster. If you are conducting an interview, use a lapel mic and advise your guest to speak loud so the mic can pick up their words. In the absence of a lapel mic, ensure your microphone of choice is not faulty and place it within proximity of you and your guest.
Step 5: Check Faulty Equipment
The equipment you are recording with might be faulty, unbeknownst to you. It could be that the microphone is damaged, causing it to malfunction, or your recording device could be broken. So, check your equipment to ensure it is in working order before recording. If you use defective equipment, the audio quality will be poor, and it is best to change the faulty equipment as soon as possible.
Step 6: Compare and Test Audio Recordings
Compare and test your audio recording before the actual recording session. It will help you determine if there is any noise you need to take care of. Run as many tests as necessary until you have fixed the noise issue. If the noise persists, try to move away from it and proceed with your recording.
Step 7: Use a Third-Party Tool
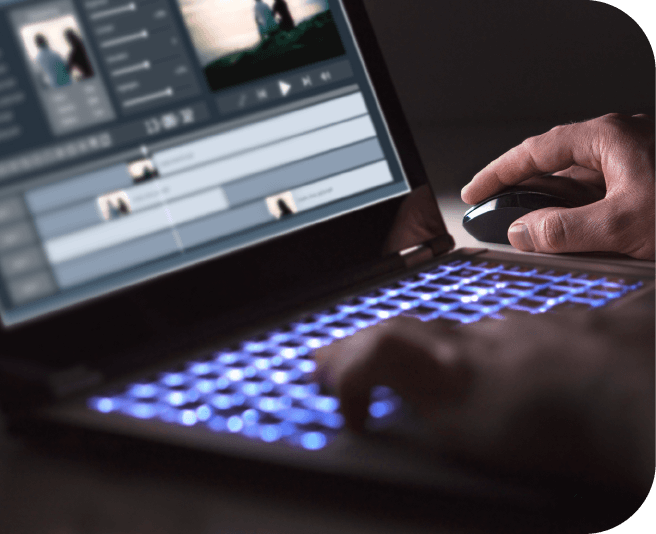
There are third-party tools you can use to help you get rid of white noise. Audacity is a free tool that removes background noise in audio recordings. The platform receives any audio file, and it is easy to use. Go to the Effect section, choose Noise Reduction, and reduce the noise until you are satisfied. However, be aware that your audio sound might change depending on how far you take the slider. So, move the slider slowly.
Microphone Placement During Audio Recording
Generally, the microphone is placed within six to 12 inches of the speaker to get clear and quality sound. Your mic placement determines the volume of your voice while recording. If you place your mic in the wrong place, your voice will be faint even if you speak loudly.

Turn the microphone away from any noise source and speak loud and clearly into it. This way, your voice will be louder, silencing most of the white noise that the mic may pick up. You can also get an acoustic screen for your microphone. The screen goes in front of your mic and shields low-level noise from penetrating.
Furthermore, reduce the number of open microphones in the recording area to avoid sporadically picking up sounds in the room. Microphones have a noise floor, and the lower the noise floor, the less likely you will have white noise in your recording.
Conclusion
White noise lowers the quality of an audio recording. To prevent white noise in your audio, record in a quiet area and check your equipment. You can also record sample audios first to see if there is any distracting noise in the room.
One would think there are not many technicalities involved in audio recording, but there are. Sometimes it can be simple procedures to help give you quality audio output. Other times reducing white noise can take time and effort. It might be better to get help from experts like Media Medic Studio in such cases.