How often have you posted an unsatisfactory podcast with not the best audio quality or spent hours trying to remove audio distortion from an otherwise perfect recording? If you can relate to that, it means you need to improve the audio quality of your recordings by doing a professional audio restoration.
Whether you do voice-overs, podcasts, or any other form of voice recording, background noise, coupled with some other factors, like unsuitable equipment settings, can quickly make your hard work sound mediocre. Your audience will hardly finish listening to the recording, and you lose the entire purpose.
How to Improve Audio Quality of a Recording
It takes experience to do media restoration, in this case, audio cleanup. The process involves removing background noise like humming, buzzing, or hissing, which causes a distraction that ruins your recording. Apart from this, you should also look out for room reflections or echo. While you are at it, make sure there is no external noise or audio interference. It could be anything from the neighbor’s lawnmower to your pet, even the minute clicks and taps you make on your phone or laptop.

With that out of the way, let’s talk about the steps you can take to improve audio quality.
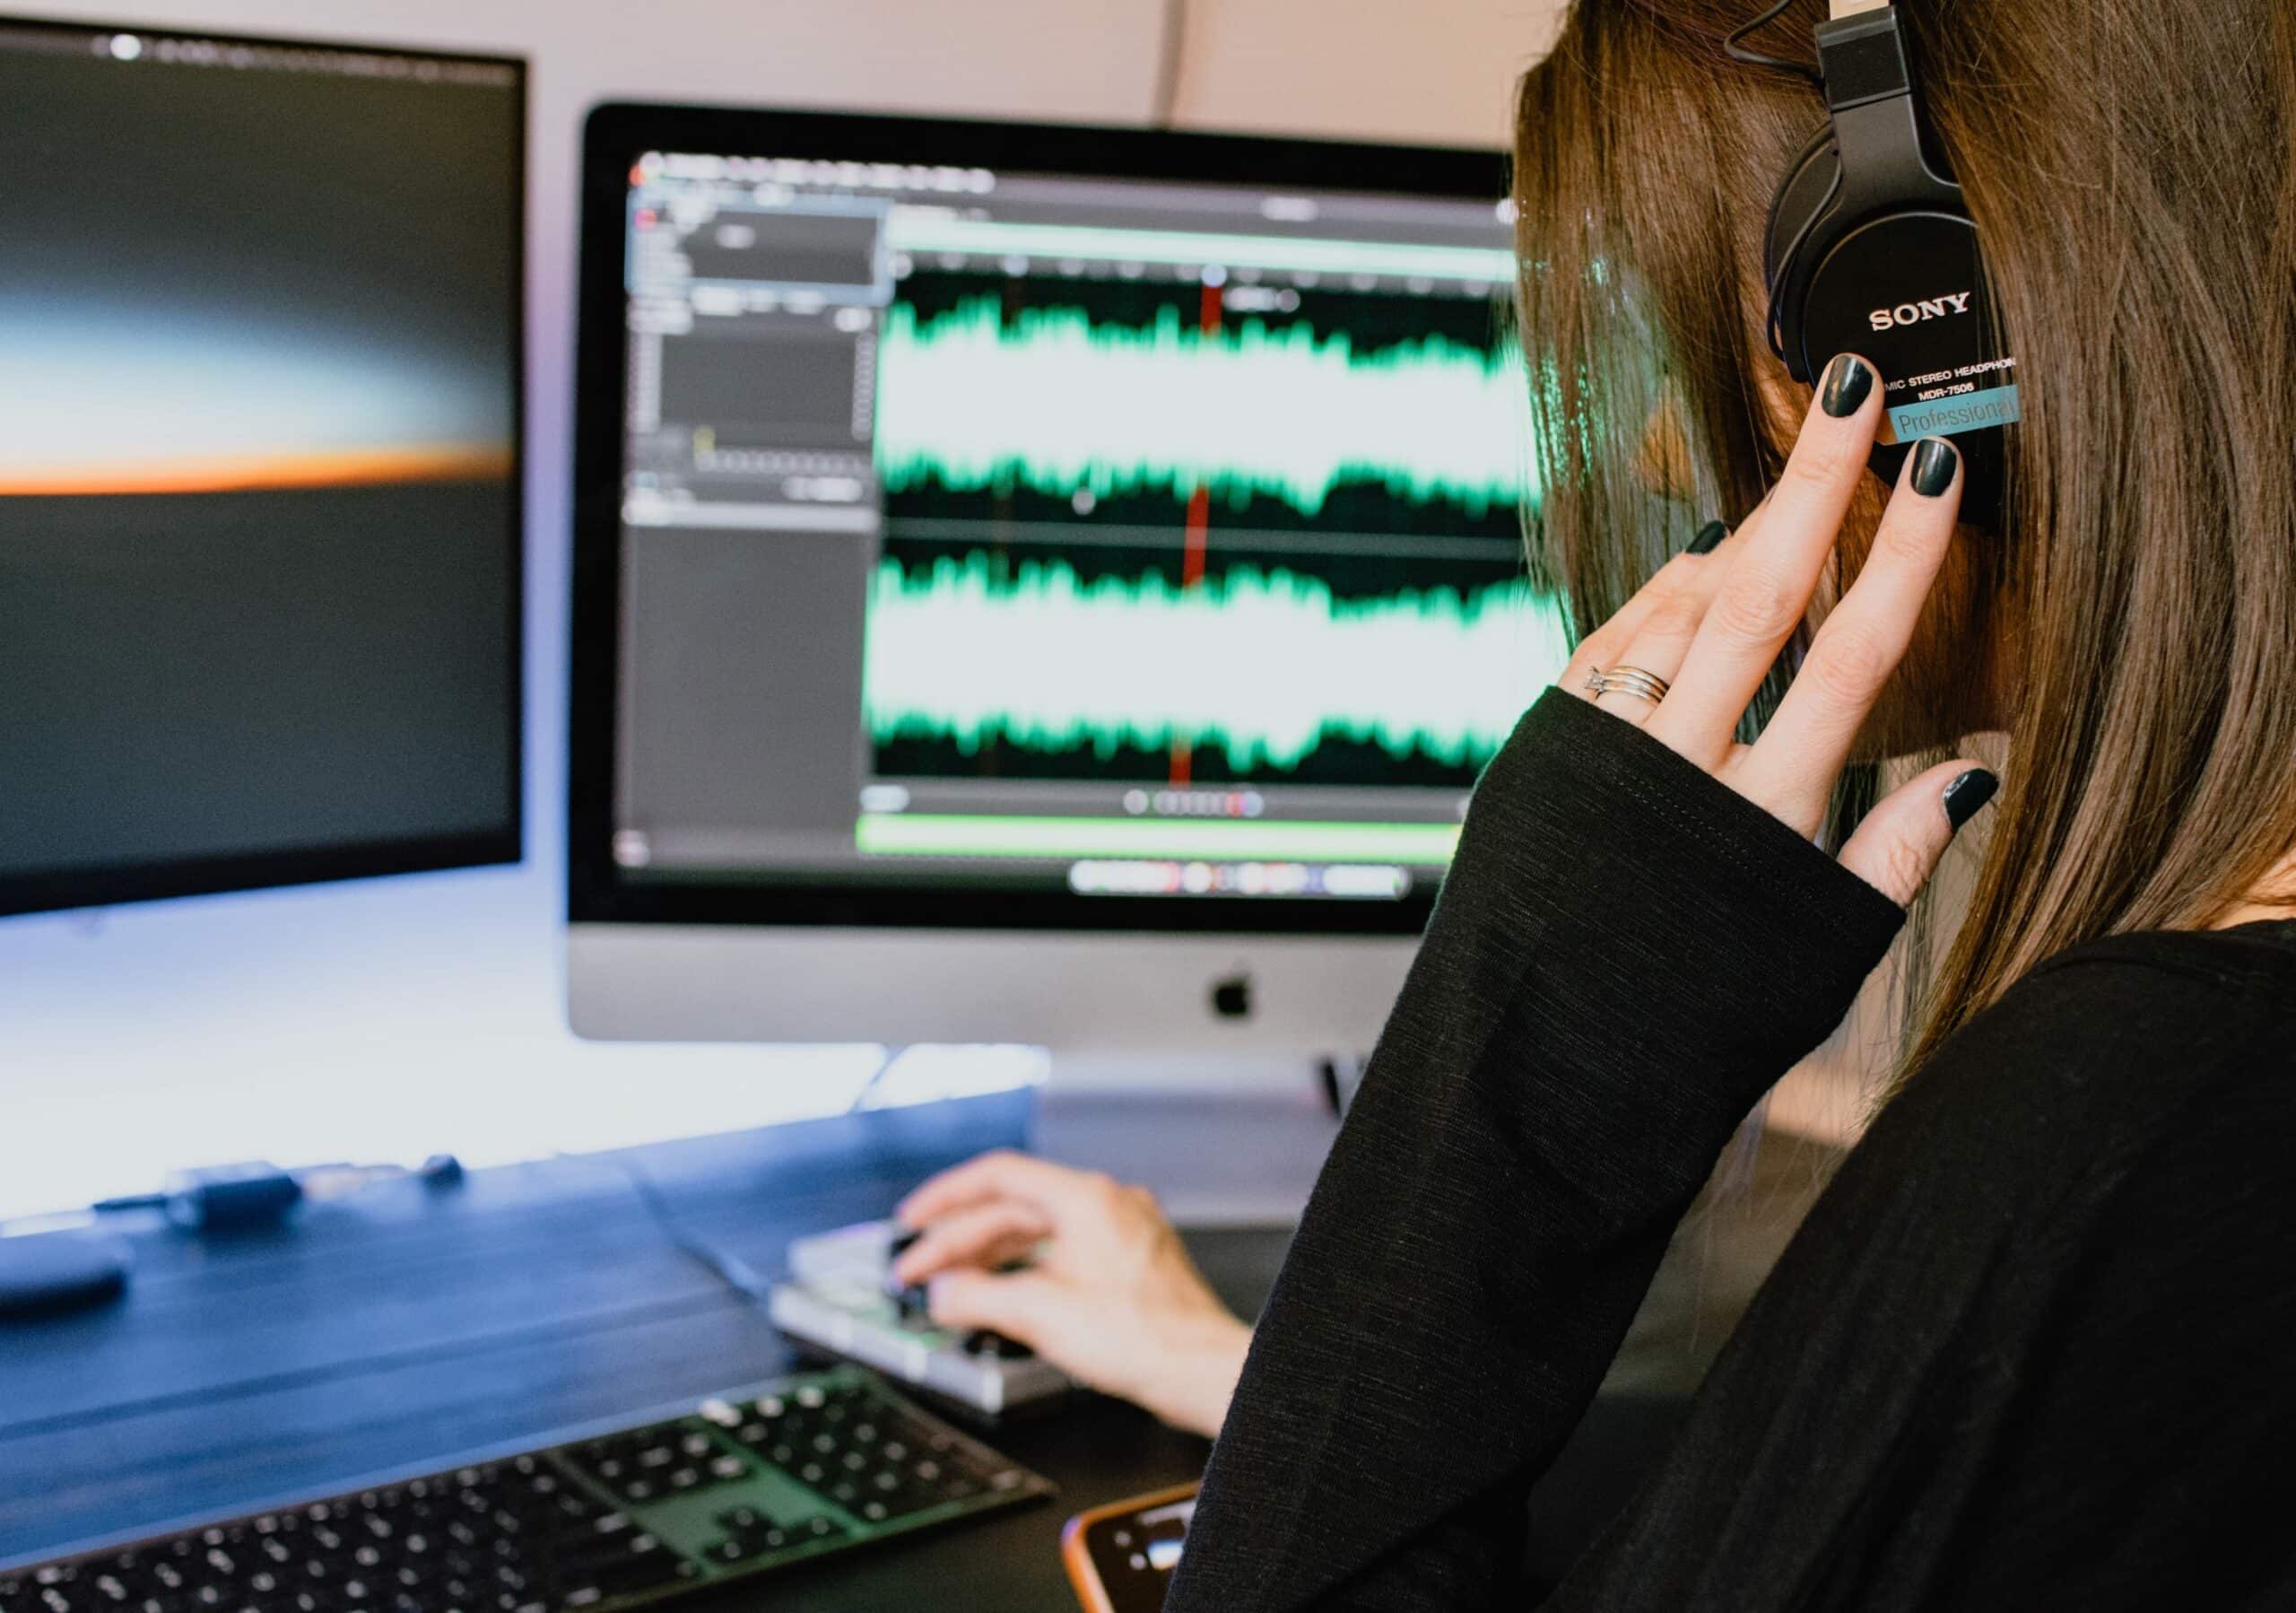
Audio Editing
Some intrusive sounds are just unavoidable. No matter how much you try to minimize the background noise or distortion, it is near impossible to record perfectly clean audio. For example, you cannot get rid of the fan noise from your laptop or PC or the slight noise from the heating or ac units. So, what can you do in such situations? There is a simple route and a more challenging route. You can go through the lengthy process of learning how to use audio cleanup tools or simply hire an expert to do a complete audio cleanup.

If you are new to recording and audio editing, this might seem a bit tricky, so you should also consider hiring a professional to clean up the audio media. For starters, you should know the basics of polishing raw audio. This means removing the distortion with just the right tools. There are several tools that you can use, but the recommended are:
- Adobe Audition
- Filmstro
- Wavepad
- Audacity
There are many options available. You might have to pay for some features, which can make you spend more than your budget in the end. Moreover, to streamline the process, many filters are available that do most of the job. They work if you know how to use them correctly.
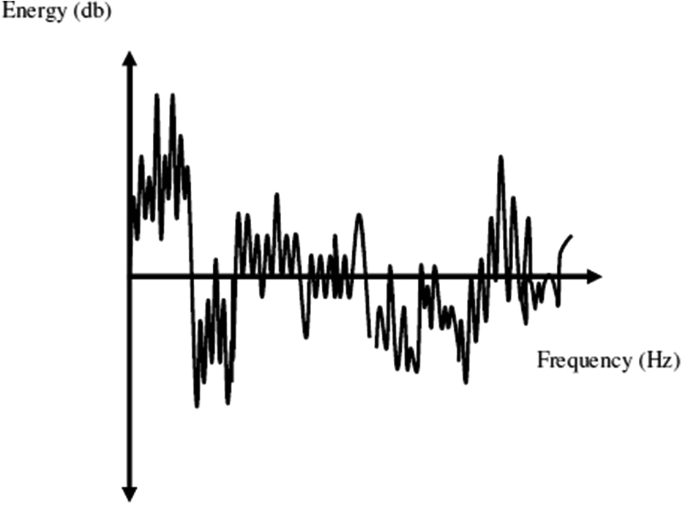
For example, you can use the noise reduction filter or slider by adjusting unwanted noise or distortion using sensitivity adjustments. You can reduce the unwanted noise from the entire audio or a portion from then onwards. However, the automation in such software may not give consistent results every time, which some people describe as quite frustrating.
On the other hand, you could hire experienced audio engineers to fix the audio files, giving you crisp, clear music or dialogue. For this, we recommend our team at Media Medic.
Choose the Best Environment
Not everyone has an entire studio full of fancy equipment dedicated to recording. However, it shouldn’t stop you from doing what you are. You can make some tiny tweaks that can significantly improve the audio quality of your recordings. However, if you have the money to invest, you can sound-proof your walls to avoid any frustration afterward. However, if you can’t, it is totally fine. To help you set up the perfect recording environment, we have gathered some tried and tested tips for that flawless audio.
First, you need to close all your windows and turn any noise-making device off. This includes the AC or heating (if you can), washers, dryers, and even unnecessary computers or laptops lying around. You might not realize this, but the fans of these machines cause a lot of background noise in your audio. Apart from this, if you have fluorescent lights, you can turn those off since they produce constant low buzzing noise.
Next, you need to cover up as many hard surfaces as you can in your room. Consider adding more furniture, especially rugs and curtains, if your room is empty. Doing this will significantly remove echo. You can also try recording in confined spaces like a closet, and this will give you a private, not to mention quiet, space to record in. You can also try a famous trick often used by NPR reporters to cover their heads and microphone with blankets or coats. However, you must be careful of your body movements to avoid unnecessary rustling noise.
Lastly, a great way to avoid catching unwanted sounds is pointing your microphone away from the source. So, if you have a window nearby that allows unwanted sounds in, you can try sitting away from it so that your mic does not pick up those sounds.
A good tip is to record the first few seconds in silence and test it before proceeding with your schedule.
Use the Right Equipment
Sure, the better the equipment you have, the better the results, but you don’t necessarily need to spend much money on fancy equipment. You can produce great results if you know what you are working with and optimize what you have. To help you out with that, we have gathered some important pointers that you should note.
The most important thing without which nothing can function is a microphone. You need to determine the environment where you will be doing most of your recordings. Once you have that sorted, you can choose the right microphone to get started.
Generally, a shotgun microphone is an ideal choice if you are recording in your home or studio. Even outside as well, but nowhere too loud. You can also go with wireless microphones for that added mobility. You must have seen people interviewing others on the go; if your goal is to do something similar, then a handheld microphone is just what you need. Also, if your work requires picking up low pitch audio like sounds of nature, a stereo microphone is for you. With suitable adjustments, the stereo microphone can pick up even the minutest of the sounds.
When shooting outdoors, you should keep in mind that the wind might distort your recording. Nobody likes it when all you can hear are scattered words distorted by the loud rushing wind, right? So, to avoid that, you need to wind protect your microphone. You can find products for heavy-duty wind and rain protection online. They are usually made up of fur, foam, or a water-proof material. Also, these products have enough padding to mute the sounds of the surroundings and pick up the audio you need, which is closer to the microphone.
Lastly, we suggest using a noise gate. A noise gate comes in both software and hardware form. It is a processing device or software that doesn’t catch certain sound waves. As the name suggests, it acts like a gate, blocks, and only lets in selected sound waves.
There are four main parameters that you can adjust. You can adjust the threshold, which determines the period the gate should remain open for. The attack and release determine how quickly the gate should open and close. Finally, the hold determines how long the gate should remain shut. With the proper adjustments help remove ambient background noise, static, mistakes during recording, and other instrumental distortion.
Final Thoughts
To wrap it up, removing bad audio is quite a tricky and lengthy task when making your first attempt. While editing, there is so much to look out for to avoid countless revisions. This is why most journalists, media, and content producers outsource the job to experts.
The expert’s job is to do a complete audio clean-up to enhance sound quality. These services are best because the experts solve noisy audio problems remotely and conveniently.